![]() View Type list box /
View Type list box / ![]() View type palette
View type palette
You can use the RT_Render rendering method to render the current view. The longer you do not change anything, the better the resulting image. If you change the scene or model, the program starts rendering the image again. To prevent Allplan from rendering the same view indefinitely, you can define a time limit based on various stopping criteria.
The predefined RTRender view type is based on this rendering method.
Note: These settings apply only to the on-screen image or to a bitmap image that you create directly after rendering by means of the Save Contents of Viewport as a Bitmap... tool. But when you create a bitmap image by means of the ![]() Renders single images tool, the settings you make there apply.
Renders single images tool, the settings you make there apply.
Parameters
Name
Name of the view type into which View Type list box these components are entered.
The names of the predefined view types can also be individually amended here.
Rendering method
RT_Render (cannot be changed for the predefined RTRender view type)
Image resolution
Custom
If this option is not selected, Allplan automatically uses the resolution that results from the current size of the viewport.
Select this option if you want to use a different resolution to render the image. Specify the required resolution by using the Default or Resolution setting.
Note: When this option is selected, Allplan resizes the resulting image to the width of the active viewport at first. To get a bitmap image at the required resolution, you must use the Save Contents of Viewport as a Bitmap... tool to save the rendered image.
Default Settings
Only if the Custom option is selected.
You can select one of the predefined resolutions, thus defining the size of the rendered image.
Resolution
Only available if the Custom option is selected.
Click the button to open the Rendering size palette, where you can specify a resolution that is different from that in the Default box. You can see the selected resolution on the button.
If the Custom option is not selected, the button is grayed out and not available. In this case, you can see the resolution that results from the current size of the viewport on the button.
General settings
CPU power
By entering a percentage, you can define how much CPU power you want to use for RT rendering at most.
The higher the percentage, the faster the CPU or the faster it can render the image. However, this can slow down other applications.
To prevent this, reduce the CPU power reserved for RT rendering.
Rendering progress
When you select this option, you can see information about the rendering progress directly in the viewport. For example, you can see the time the program has used so far to calculate the current view and the time it will require to calculate the next frame.
Stop criterion
If you want to enter a time limit for RT rendering, you can define a stop criterion:
Total frames, Total time, Quality
Only if you have selected a stop criterion.
Enter a value:
Virtual ground plane
Select this check box if you want the virtual ground plane stretch to infinity. If you do not select this check box, Allplan displays the virtual ground plane based on the settings defined in ![]() Surroundings.
Surroundings.
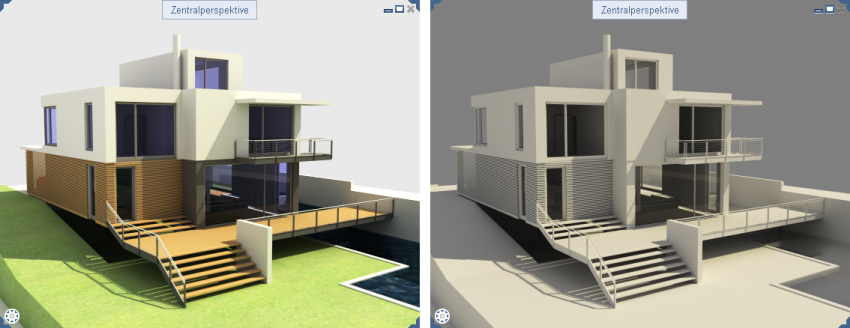
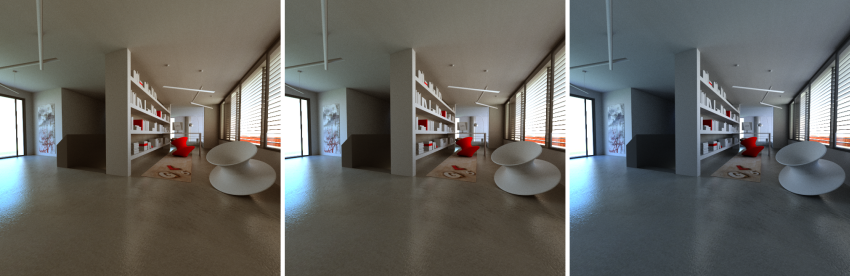
White model
The resulting image looks like a white paper model.
Using this technique, Allplan masks colored surfaces and textures, displaying the scene in light and dark shades at a low contrast.
Example of the rendered image with and without the "white model" option:
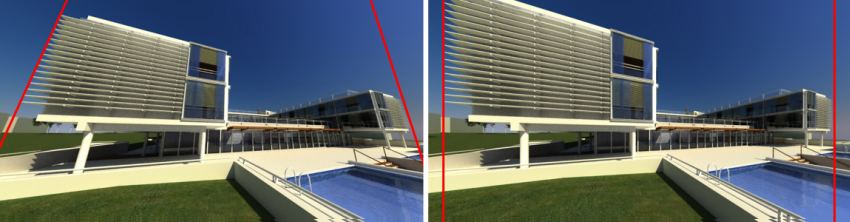
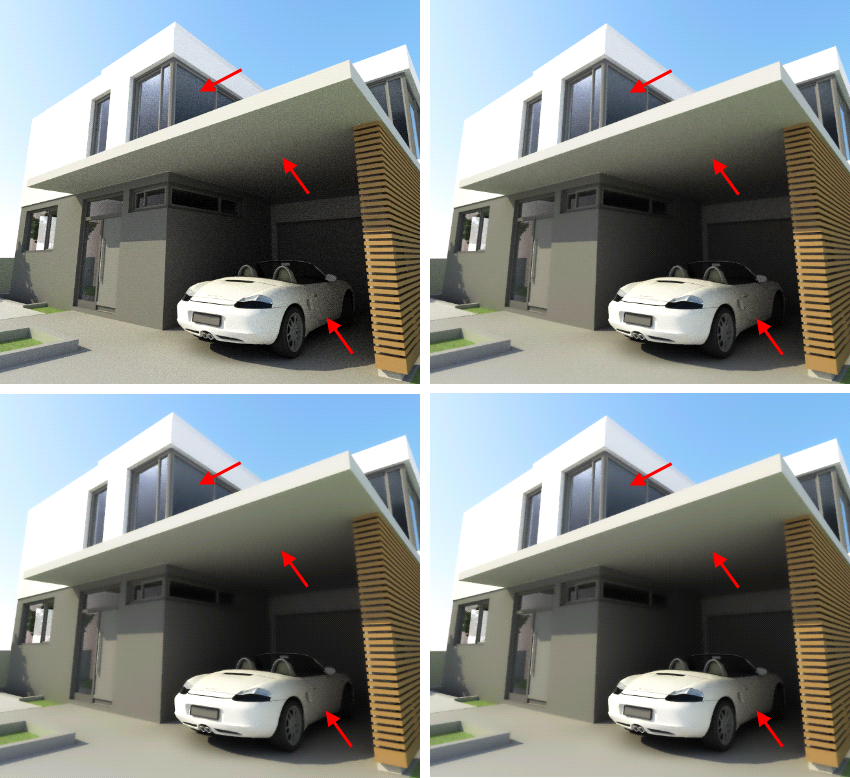
Projection type
Select the type of projection you want to use for the perspective of the rendered image.
Examples of rendered images in different types of projection:
Ambient occlusion
You can use the RT_Render rendering process with the aid of the ambient occlusion process together in a view type to produce realistic shadows in a relatively short period of time.
To get more information about ambient occlusion, see the Render palette - Advanced Settings palette - AO parameter.
DOF
If you select this option, Allplan will include the setting for the depth of field (DOF). This is configured via![]() 3D view (Window Toolbar).
3D view (Window Toolbar).
Post-process settings
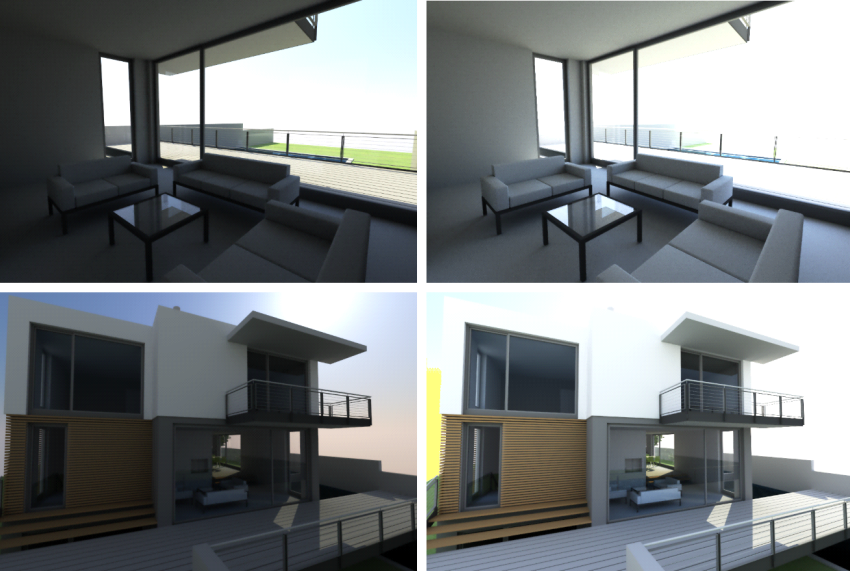
Automatic exposure
You can choose to correct the exposure of the image:
Examples of rendered images with different settings for automatic exposure:
Tone mapping
You can readjust overexposed areas by reducing the dynamic range.
When you render scenes with great differences in brightness, such as scenes that contain both bright areas illuminated directly and shaded areas, you can thus reproduce the full range of light intensities present in natural scenes.
The greater the value, the more limited the dynamic range.
Examples of rendered images with different settings for tone mapping:
White balance
You can readjust the color temperature of the rendered image to the lighting of the rendered scene.
You can use values between 1,000 and 10,000 Kelvin. The smaller the value, the warmer the scene. The greater the value, the colder the resulting image.
Examples of rendered images with different settings for white balance:
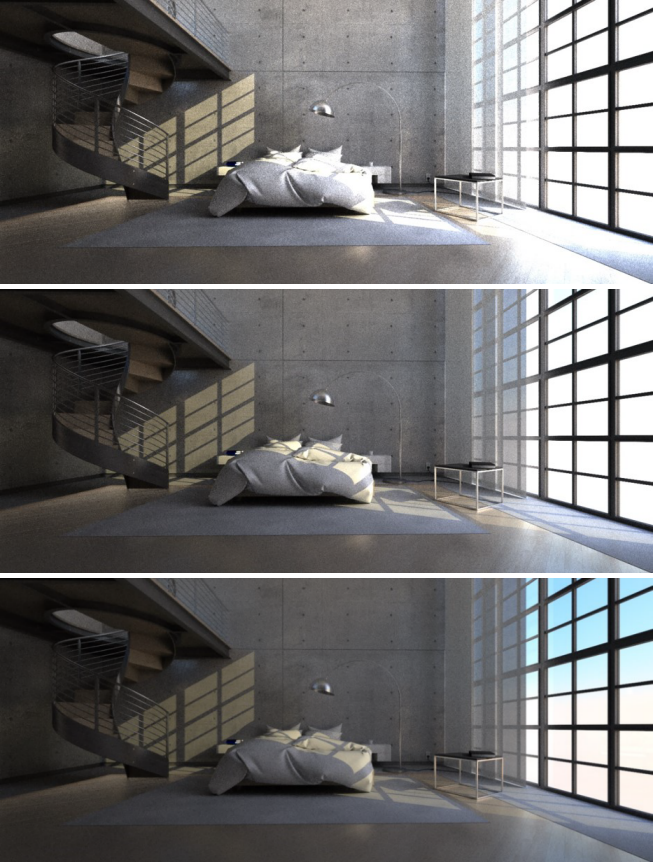
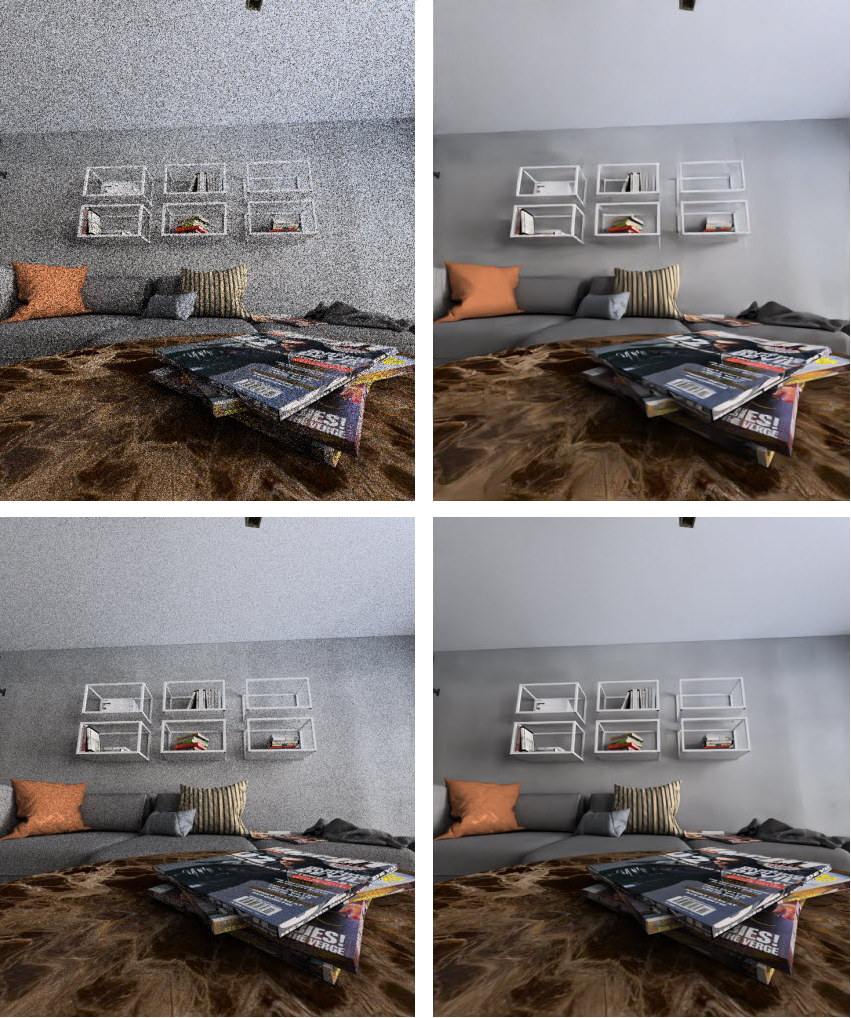
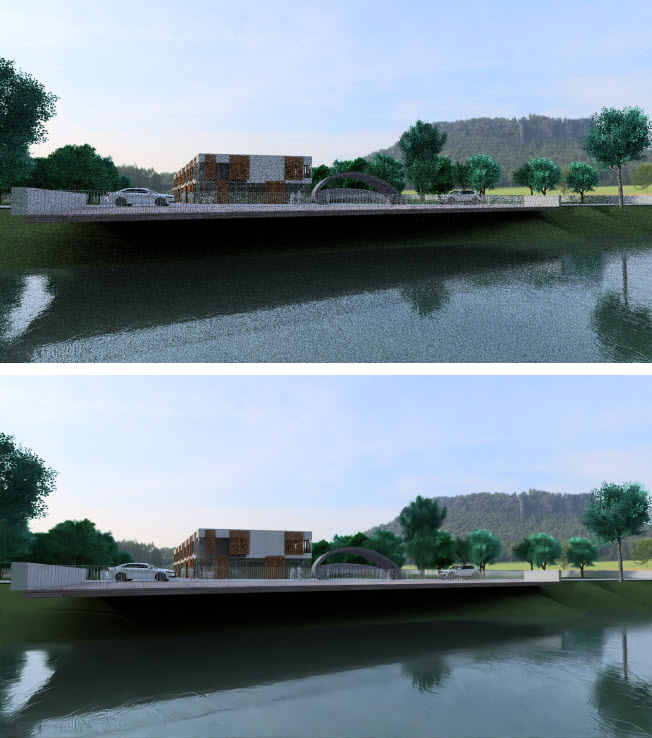
Noise reduction filter
Here you select the calculation method for reducing image noise using a noise filter:
Tip: You can also remove noise by changing the dynamic range. To do this, use the Tone mapping option. When you render perspectives of interiors, you can also reduce noise by defining the lighting accordingly (see New or Edit light palette -> Skylight option).
Example of rendering result with RT Denoiser at different levels of noise reduction:
Example of the rendering result of an interior view with NVIDIA OptiX:
Example of rendering result of an exterior view with NVIDIA OptiX:
Intensity
Only if the RT Denoiser or NVIDIA OptiX option is selected under Noise Reduction Filter.
You can define the intensity of noise reduction.
Smoothing
Only if the RT Denoiser option is selected under Noise Reduction Filter.
You can define how much you want to smooth edges.
Bloom / Intensity
When Blooming is switched on, an additional ring of light is placed around light sources, such as the sun or point-shaped sources of light. The prerequisite is therefore that the physical sky has been selected as the background via ![]() surroundings (select) or one or more artificial light sources have been set via
surroundings (select) or one or more artificial light sources have been set via ![]() set project light (select).
set project light (select).
Lense effect / Intensity
When the lens effect is switched on, additional circular light reflections (comparable to the reflection of a light source in a camera lens) are interspersed in the image.
Selection preview
Suppress in viewport
Deactivates the selection preview (Element display in the selection preview color and element information) when hovering over design elements with the cursor in all graphic windows in which this view type has been set.
|
(C) ALLPLAN GmbH |
Privacy policy |