![]()
![]()
|
|
|
![]() Tools: Clipping Path
Tools: Clipping Path
Before you can place a section in a layout (document), you must convert the section of the 3D model to a 2D image and save it to a separate drawing file/document. To do this, use![]() Hidden-Line Image, Wireframe. To do this, you can combine plans and 2D drawings into layouts.
Hidden-Line Image, Wireframe. To do this, you can combine plans and 2D drawings into layouts.
Tip: Creating sections in the building structure
To activate a section
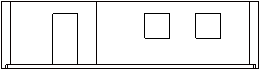
The program displays the section as a wireframe model; hidden components are still visible.
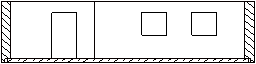
The program displays the section as a realistic 2D image.
To activate and save a section
The program displays the result in a separate window.
You can see the following note: Close viewport with result to continue.
Close the viewport with the hidden-line image to save this 2D image to a separate document or display the document with the components again.
Tip: The ![]() 1 Viewport setting makes it difficult for you to tell the various windows apart. Check the name on the title bar - [Result of hidden-line calculation, wireframe calculation date time] - indicating the window with the hidden-line image.
1 Viewport setting makes it difficult for you to tell the various windows apart. Check the name on the title bar - [Result of hidden-line calculation, wireframe calculation date time] - indicating the window with the hidden-line image.
The program prompts you to save the result of the calculation.
The section is saved as a 2D drawing in the selected drawing file or document.
Tip: If the document looks empty, switch to ![]() Plan View!
Plan View!
Note: When you save a hidden-line image in a destination drawing file, the layer of the intersected elements automatically applies to the new elements in the hidden-line image. The "from layer" properties will be considered too.
Note: Some practical values:
- Thick line for intersected area border 10
- Normal component lines 5
- Room Finish Lines 3
- Surface elements 0
|
(C) ALLPLAN GmbH |
Privacy policy |