![]()
![]()
|
|
|
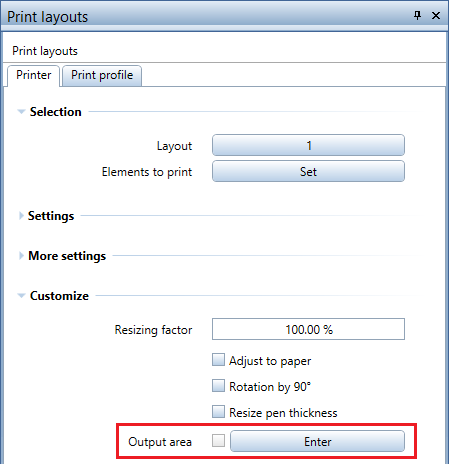
If you want to print only the current layout using the ![]() Print Layouts tool, you can now define an output area for this layout. You can then print only this area using the settings specified in the Output mode area. In the Customize area, click the Enter button to the right of Output area. Define the area by clicking the corners of any polyline. Clicking two diagonally opposite points creates a rectangular area.
Print Layouts tool, you can now define an output area for this layout. You can then print only this area using the settings specified in the Output mode area. In the Customize area, click the Enter button to the right of Output area. Define the area by clicking the corners of any polyline. Clicking two diagonally opposite points creates a rectangular area.
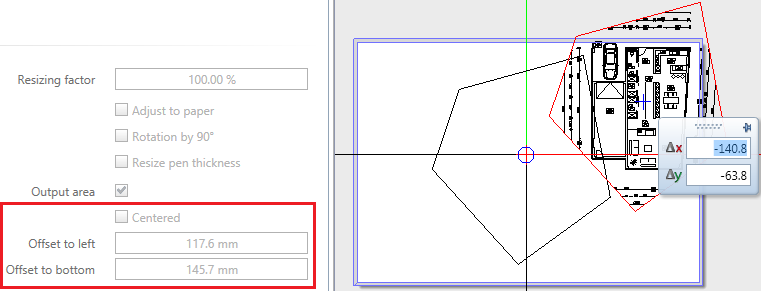
After you have defined the output area, Allplan hides the data outside this area and creates a page based on the parameters of the printer set. In order to define the position of the output area on this page, you can select the Centered option or you can define how far the bottom left corner of the min/max box is from the bottom left corner of the printable area. As an alternative, click the output area, grab the handle and drag it to the right position.
Define the other settings as usual. Make sure you adjust the paper format to the output area (click ![]() in the Settings area). You can also adjust the output area to the paper (select the Adjust to paper option in the Customize area). Finally, make settings in the Output mode area and start printing. Allplan resets the settings to the state before you defined the output area.
in the Settings area). You can also adjust the output area to the paper (select the Adjust to paper option in the Customize area). Finally, make settings in the Output mode area and start printing. Allplan resets the settings to the state before you defined the output area.
| (C) Allplan GmbH | Privacy policy |
