![]() Tool(s):
Tool(s): ![]() Render
Render
Image quality
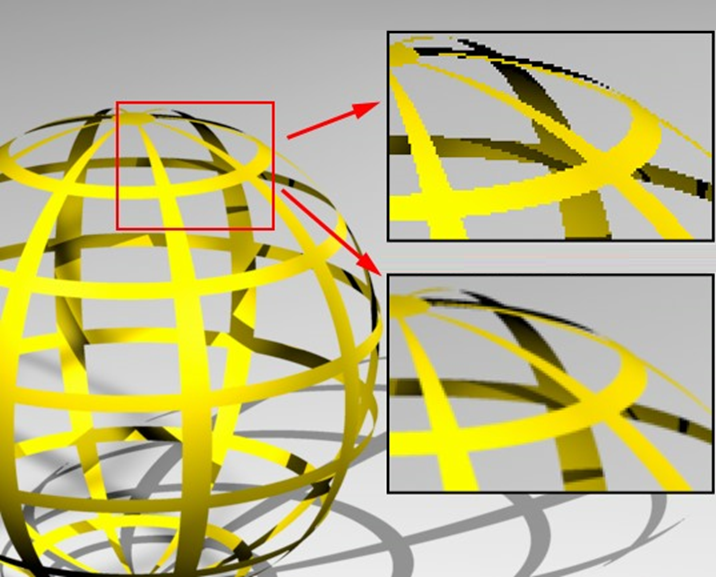
Anti-aliasing
You can define the degree of anti-aliasing using five levels.
Small values produce jagged edges, rough color transitions and noise in textures. These settings are useful for quick test renderings.
A large value results in smooth edges, smooth color transitions and detailed textures, but it also leads to longer computing times. So you should use this setting when you render the final image.
Examples of rendered images with different settings for anti-aliasing:
Irradiance cache
The following parameters control how the program calculates the light intensity and color intensity of shading points in accordance with the irradiance cache method. In this context, shading points are prominent areas of the scene which are particularly important for the rendered image. The program will calculate these areas in several test runs.
The program will determine the light intensity and color intensity in the shading points. It will then interpolate between the shading points and save all the values to the irradiance cache table. When rendering the final image, the program will superimpose the results of the other calculations. The irradiance cache method produces homogeneous and diffused light with indirect lighting.
The following applies to all parameters: the higher the level, the better the quality, the longer the calculation.
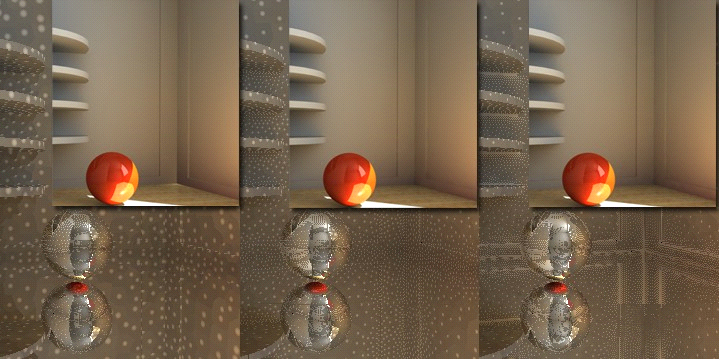
Record density
You can define the density of light in the scene using four levels.
The resolution and the number of shading points define the sum of the rays of light the program has to enter into and calculate for the irradiance cache table.
When doing the test runs, the program increases the resolution in incremental steps up to the final IR resolution selected. Consequently, you can use this setting to control the quality and time it takes to calculate the result.
Examples of rendered images with different settings for record density:
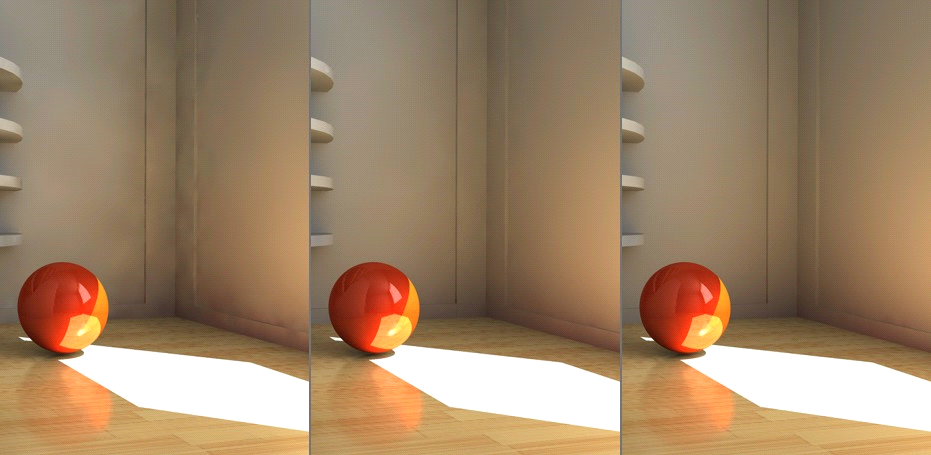
Samples accuracy
You can define how many tests the program calculates to determine the light intensity and color intensity in the shading points. You can choose between four levels, defining the quality of the entire test run.
Note: Setting the Optimize for option to Inside (Render palette) further optimizes transitions between different colors and brightness levels.
Examples of rendered images with different settings for Samples accuracy:
Smoothing
You can define the degree of smoothness using four levels.
The higher the value, the smoother the transitions between different colors and brightness levels in the rendered image. If the value is too high, some details may be lost.
Examples of rendered images with different settings for smoothing:
GI parameters
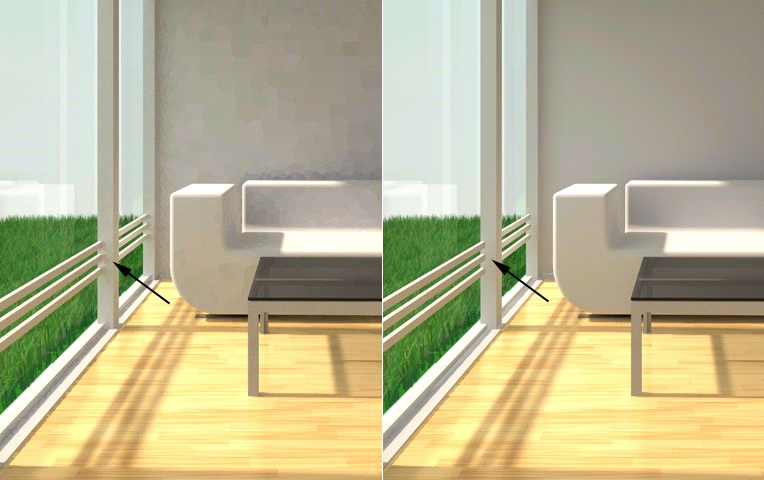
Diffuse depth
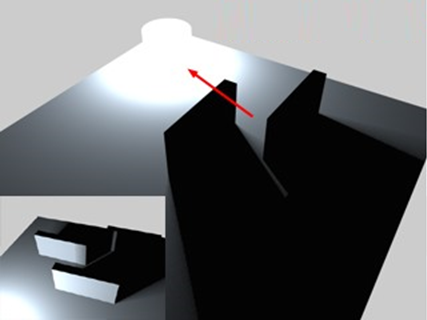
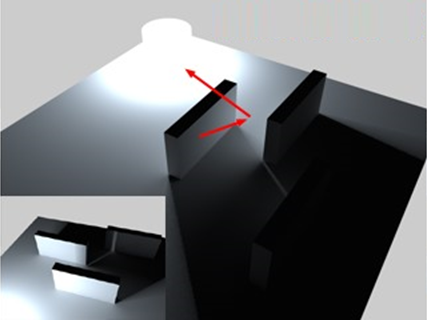
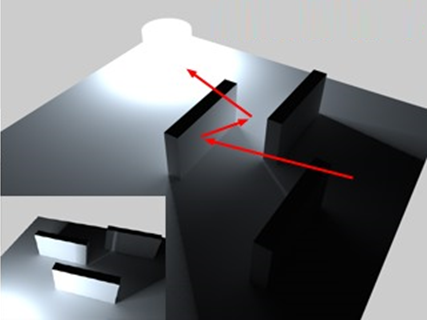
You can define how rays of light are reflected using eight levels.
1: rays of light are reflected by the surface which they strike directly, resulting in direct lighting. In other words, areas that are not struck directly by a ray of light of the light source are black.
2 - 8: reflected rays of light are reflected as many times as defined by this value. As a result, areas that are not struck directly by rays of light of the light source are also illuminated to some degree, depending on how much light the reflecting surfaces absorb.
Enter a value > 1 to produce realistic shadows and to obtain the effect of indirect lighting.
Note: The diffuse depth is equivalent to the gamma value you set for the entire scene (see Global illumination parameter in the Render palette).
Examples of rendered images with different settings for diffuse depth:
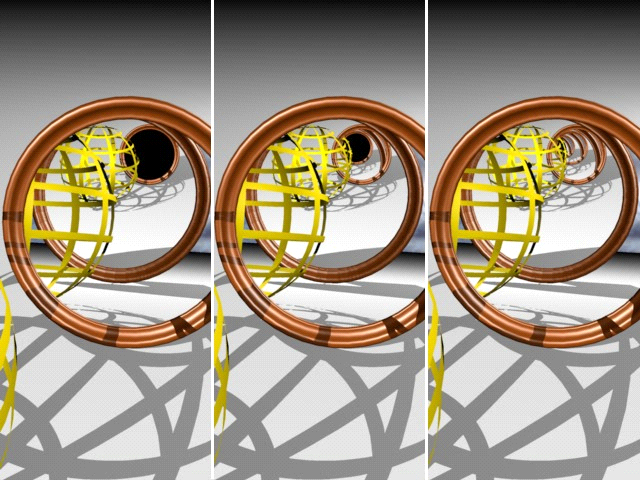
Reflection depth
You can define the maximum number of reflections using twelve levels.
Under certain circumstances, a ray of light is reflected without end (for example, two mirrors facing each other). Consequently, the program would never finish calculating the image. Therefore, rays of light can only reflect up to twelve times in Allplan.
As a rule, you can achieve realistic images with one to two reflections. Three or more reflections are necessary only in exceptional cases.
Tip: By setting the reflection depth to 1, you can speed up calculations considerably.
Examples of rendered images with different settings for reflection depth:
Quality of glossy reflection
You can define the degree of gloss of reflective surfaces using four levels.
This setting only has an effect on materials of which the surface has a Roughness value that is greater than 0% in the Surface properties palette (see ![]() Assign Custom Surfaces to 3D, Archit. Elements). Surfaces with a roughness setting of 0% reflect by 100%. Consequently, glossy reflection is infinite.
Assign Custom Surfaces to 3D, Archit. Elements). Surfaces with a roughness setting of 0% reflect by 100%. Consequently, glossy reflection is infinite.
Here, too, the same applies: the higher the level, the better the quality, the longer the calculation.
| (C) Allplan GmbH | Privacy policy |